Multifactor authentication (MFA) enhances security and protects your Single Sign On profile from unauthorized access. You’ll receive a notification email any time MFA has been added or changed.
You’ll be prompted to enter an MFA code when:
- Logging into the shared dashboard
- Resetting password via the Forgot password? feature
- Unlocking account after too many password attempts
To use Okta Verify for MFA, you must first install the Okta Verify app on your mobile device (for Android devices from the Google Play store or for iPhone devices from the App Store).
Enrolling during sign up
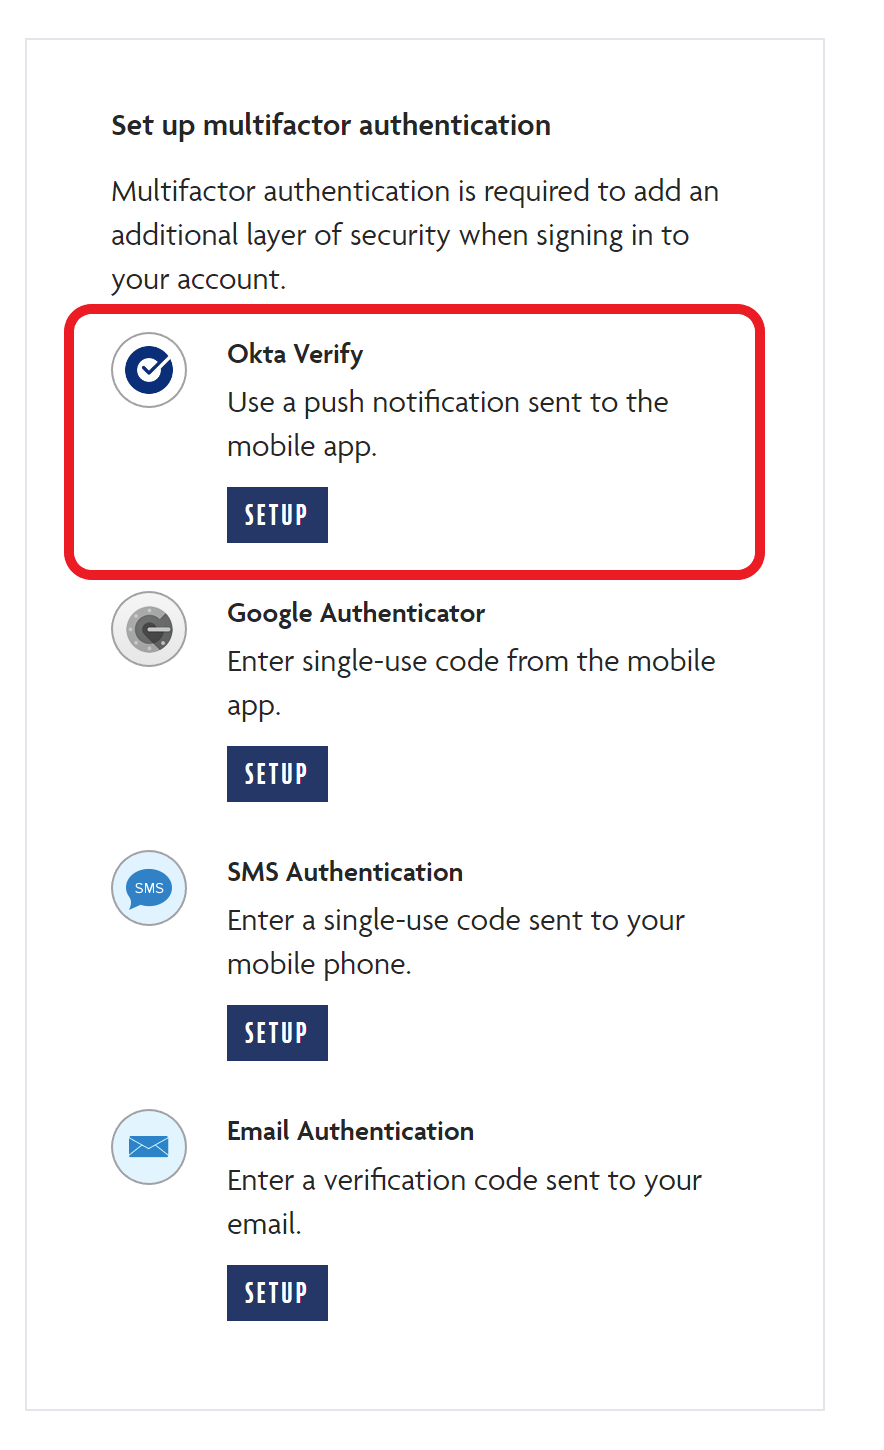
When prompted to setup multifactor authentication, go to Okta Verify and click Setup.
Select your preferred mobile device (either iPhone or Android) and click Next.
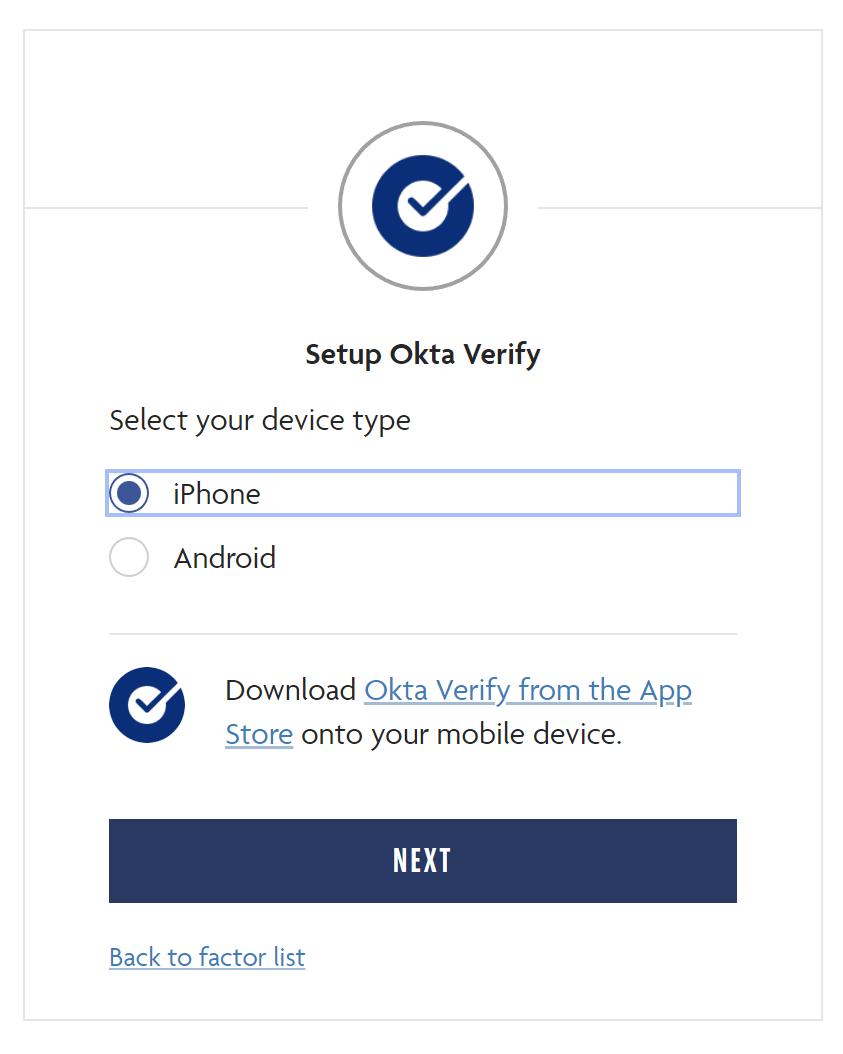
If you haven’t already done so, install the Okta Verify app on your mobile device (for Android devices from the Google Play store or for iPhone devices from the App Store).
Launch the Okta Verify application on your mobile device, click the + icon to add a new account, if prompted to “Choose account type” click Other, then click Scan a QR code and focus the camera on the QR code displayed in your web browser within the frame shown on your mobile device screen.
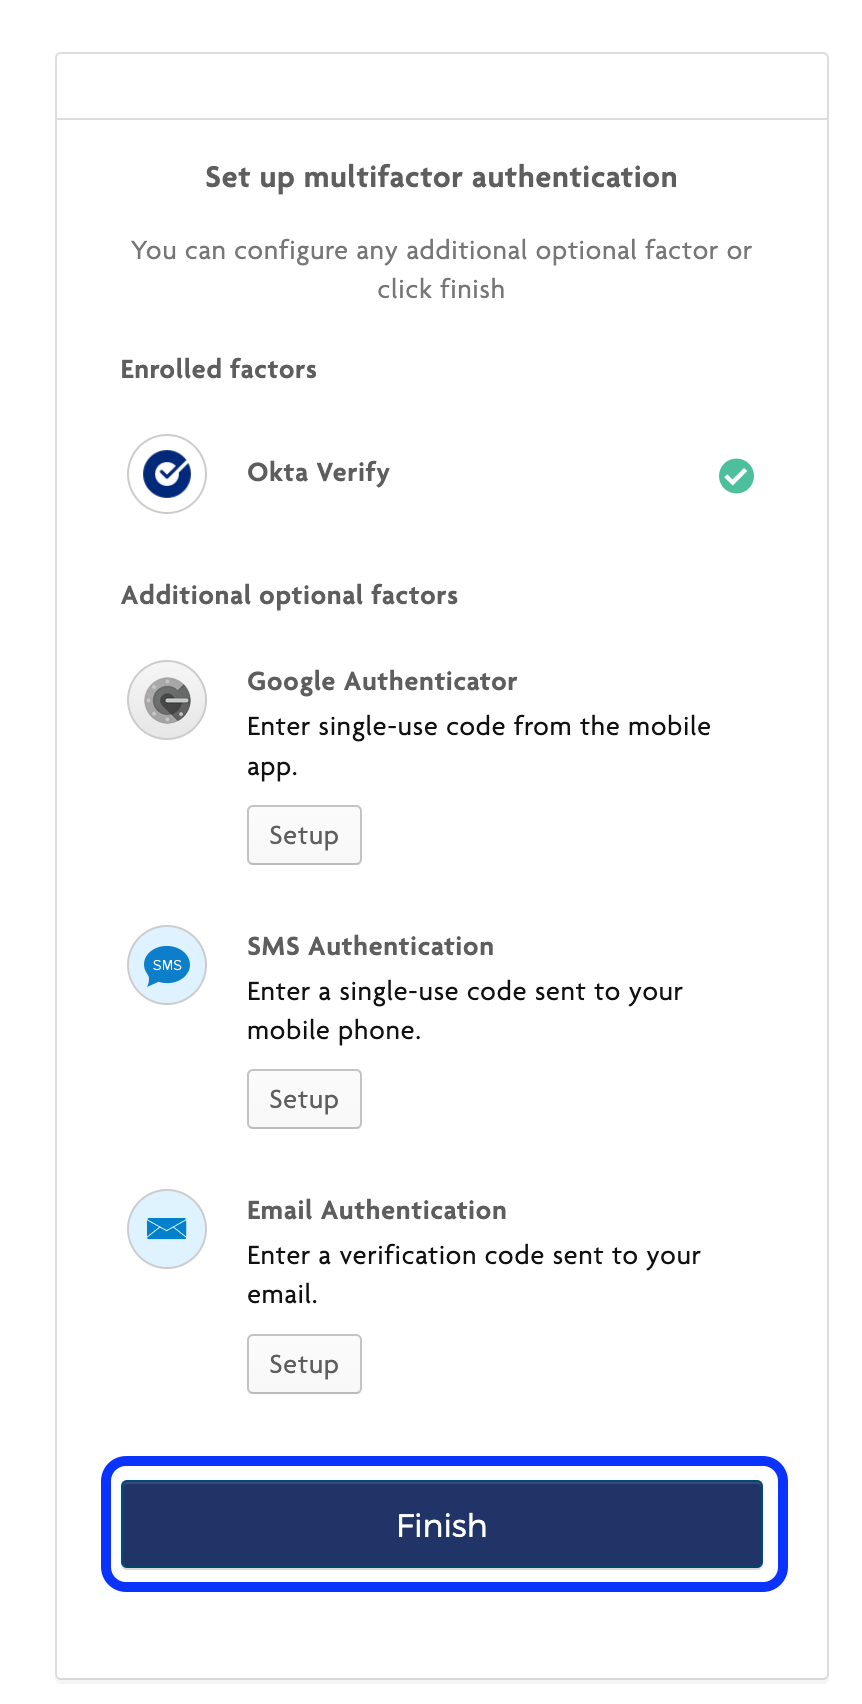
You’ll automatically return to the list of enrolled and available MFA methods, where you can optionally choose to setup additional MFA methods, or click Finish to continue.
Enrolling after sign up
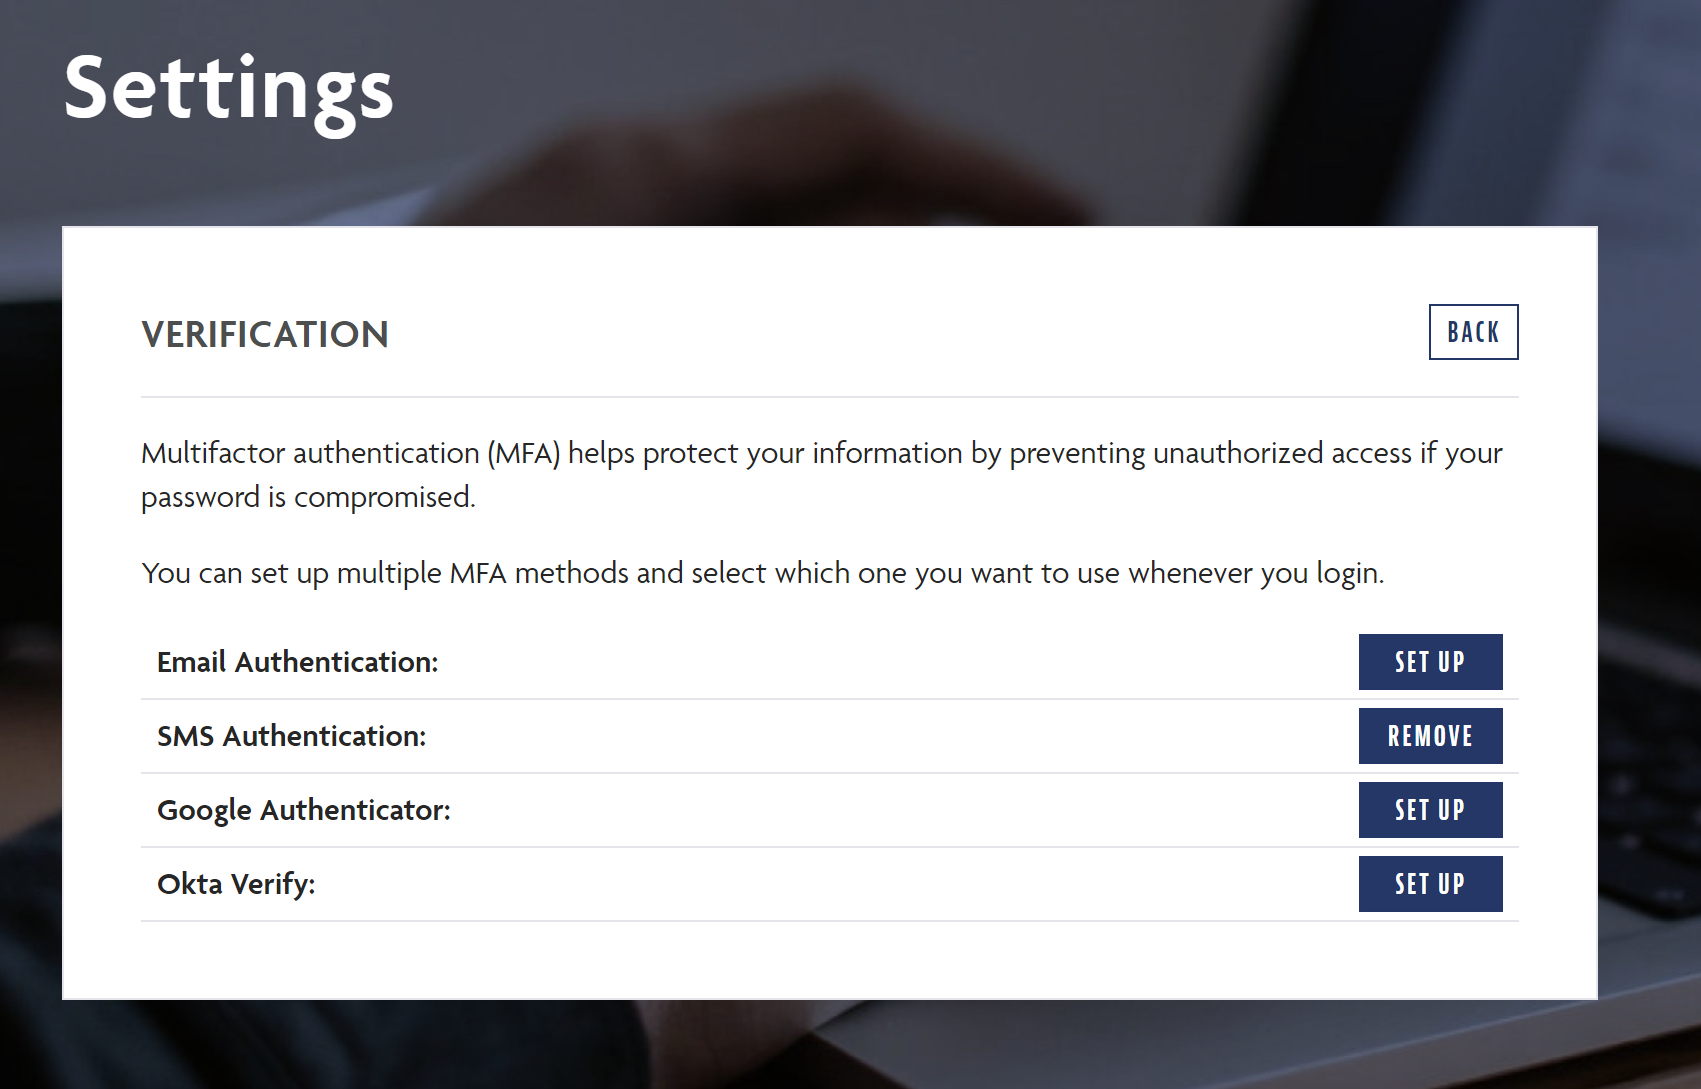
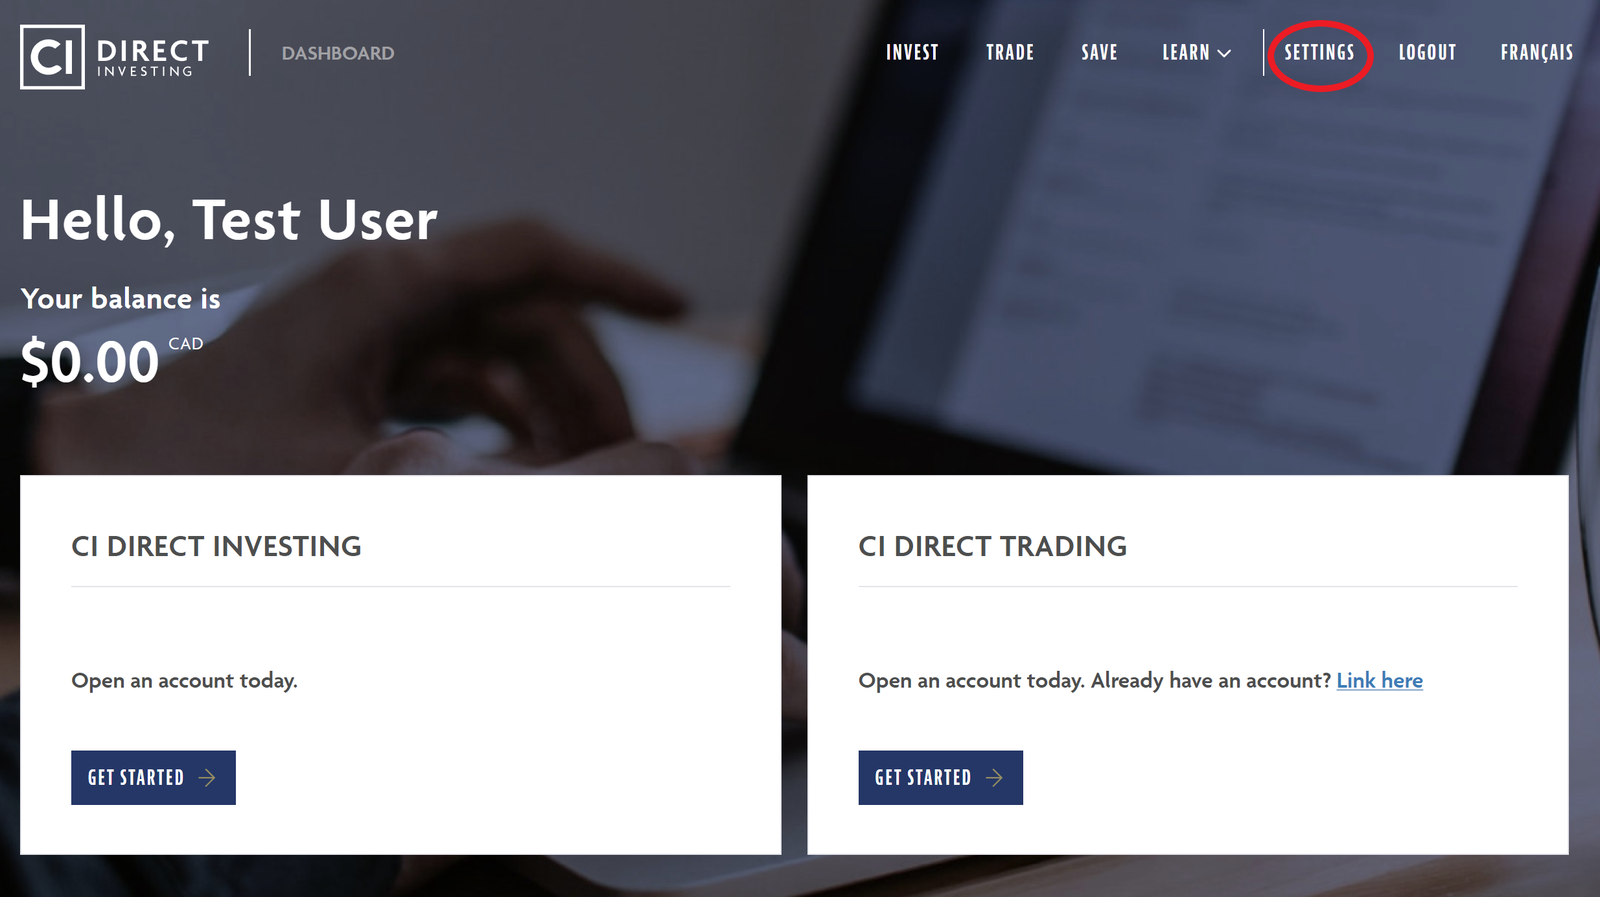
From the Shared Dashboard, click SETTINGS in the upper right area.
In the Verification section,
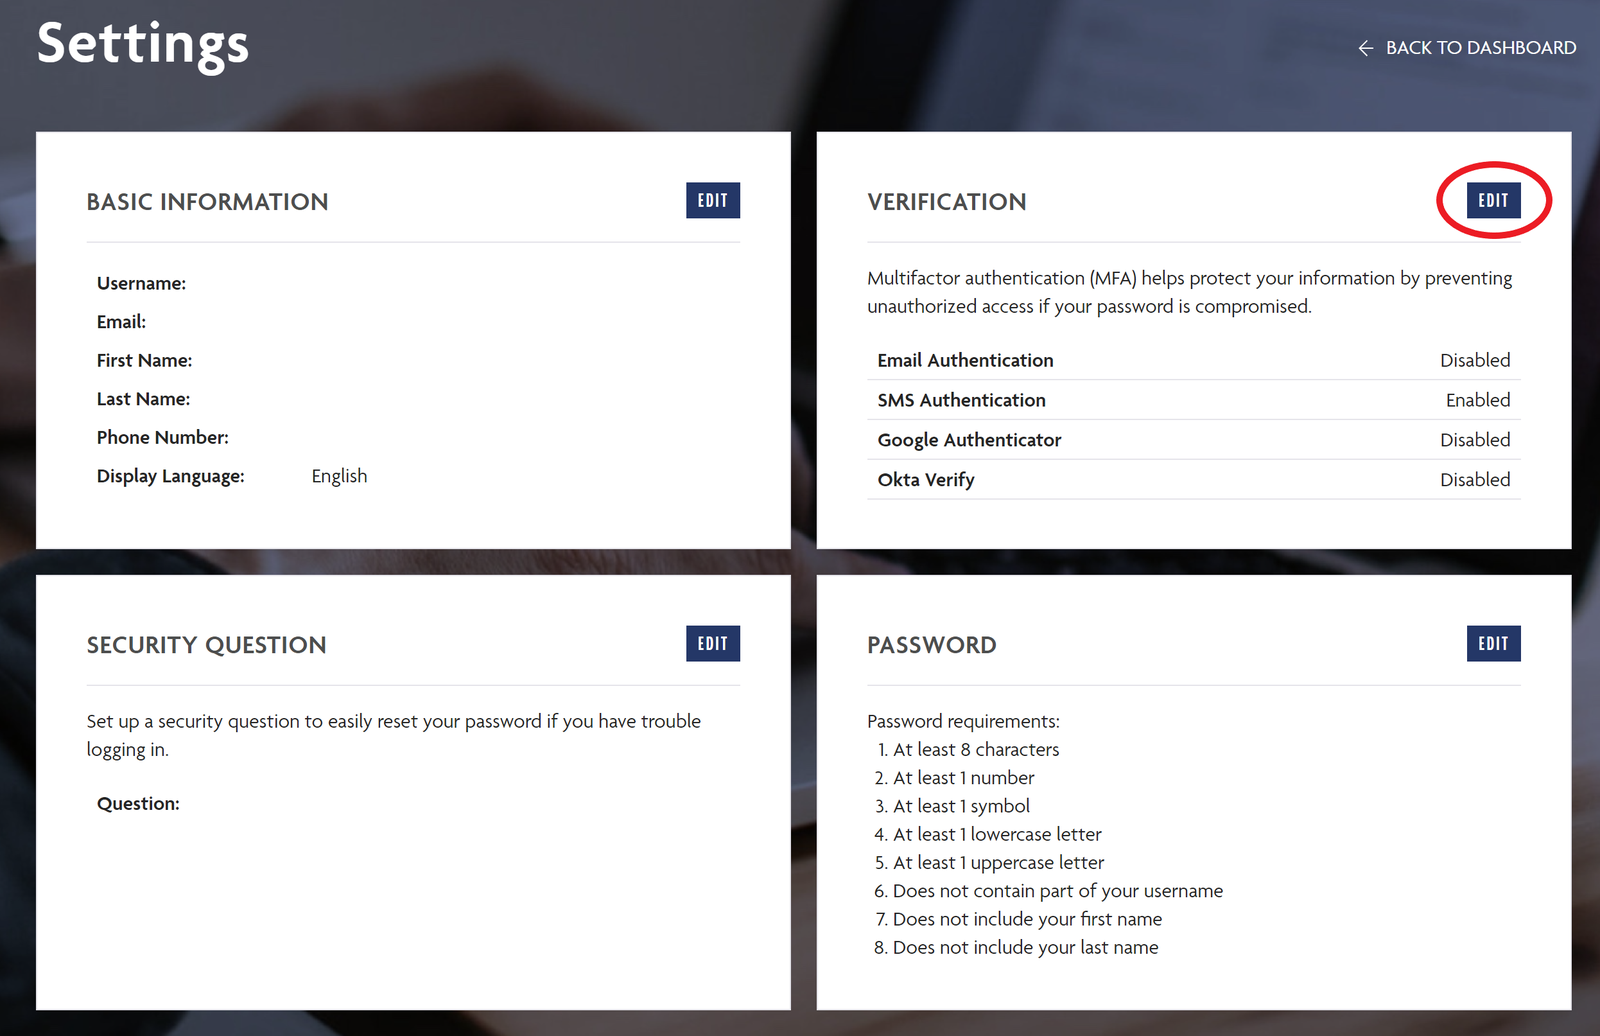
You will be able to view, add, and remove all available methods of multifactor authentication.